(Editing a gallery) |
(the last user really fucked this page up) |
||
| Line 65: | Line 65: | ||
Vent.jpg|The scratched vent |
Vent.jpg|The scratched vent |
||
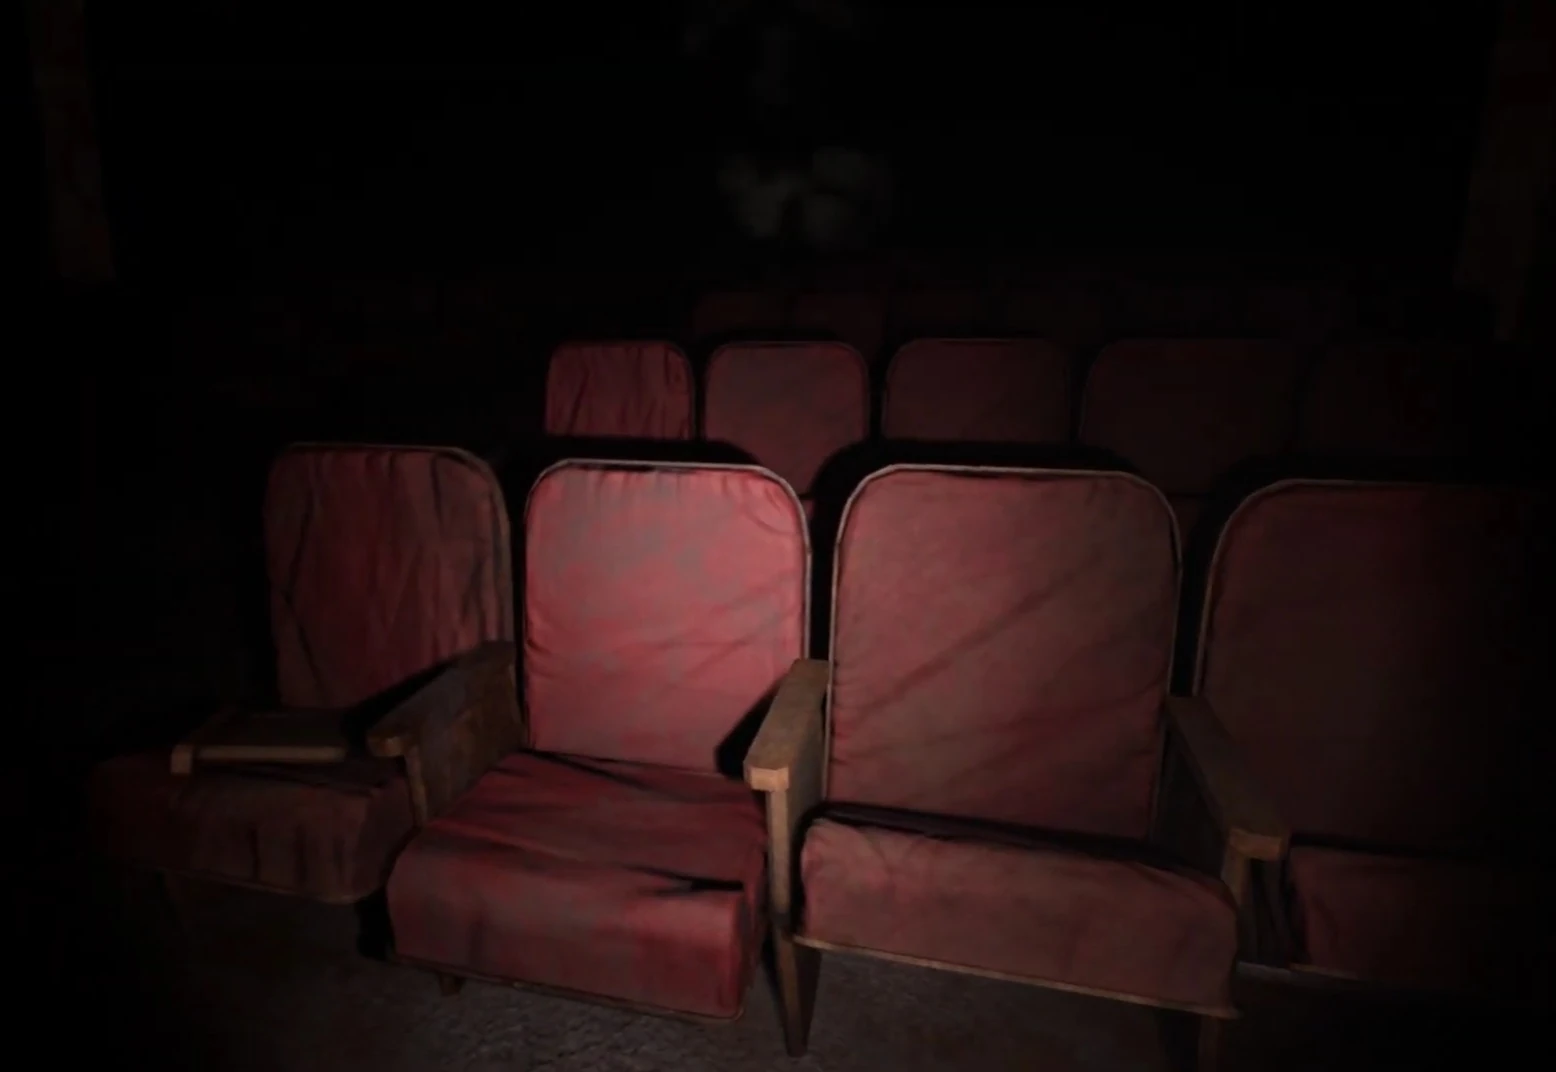
Theatre flashback.jpg|The flashback experienced in the lecture theatre |
Theatre flashback.jpg|The flashback experienced in the lecture theatre |
||
| − | I find the new wolf in Episode 3.png|The LAST RETAR in Episode 3 |
||
| − | Capture2.PNG|I found the LAST RETAR in the Episode 3 (Back Side) |
||
</gallery> |
</gallery> |
||
{{EpisodeNav}} |
{{EpisodeNav}} |
||
Revision as of 11:45, 4 February 2020
  |
This article contains spoilers. You are browsing at your own risk |
Episode 3: Biological Waste is the third episode of CASE 2: Animatronics Survival. It is played immediately after completing Episode 2: Revenge, however takes place chronically after the ending of Episode 1: The Past Is Not Forgotten.
Story
Jack Bishop wakes after falling down the hole in The Cafeteria at the end of Episode 1 to find himself in The Bunker. He attempts to find an exit while dodging the animatronics that have found themselves down in the maze with him while uncovering the secrets of an undiscovered research facility. While traversing the Bunker, Jack experiences hallucinations involving flashbacks and the voice of an unknown man conducting experiments. This man addresses a "Dr. Didgy" who is presumably the creator of the animatronics, although this is not explicitly confirmed in-game.
It is revealed that the hallucinations are caused by the Epicurean Chloride gas that was being developed by the hidden laboratory, which induces hallucinations on exposure and leave the victim vulnerable to suggestion. This is what caused Jack to experience the flashbacks and what causes him to visualize himself in different locations that do not physically link together.
| The following information contains spoilers. To view them, click the [show] tag. |
|---|
|
It is implied that the animatronics encountered during this episode are not physically present and are a product of the Epicurean Chloride gas, making them hallucinations. This is backed up by the fact that the broken body of the Cat found in the starting area does not vanish from it's spot, even after the Cat itself begins to patrol the bunker. Likewise, during the attack from the Bull in the laboratory it disappears into thin air like an apparition. |
Walkthrough
Jack Bishop wakes in D1 next to the broken remains of The Cat who presumably followed Jack down the hole at the end of Episode 1. The player is trapped in the Bunker, a location previously only used in the Multiplayer, and is tasked with finding an exit. While roaming the facility many rooms are filled with gas that will make Jack cough and blur the screen slightly but do not impact gameplay. The player will encounter The Wolf when attempting to open the large metal door found in D3, however the Wolf does not attack the player and the door can be entered normally after the jumpscare.

The lecture theatre
Many doors are broken or obstructed, meaning that travel through the bunker requires a slightly different route compared to the multiplayer. The player is required to use the overground area in D5 to proceed, eventually reaching exit b which is found by C1. This door is broken, prompting the player to locate the second exit door by A2. At this point The Cat will become active after kicking down a door and will chase the player. It is avoided by making enough distance between Jack and the animatronic then turning the flashlight off and hiding until it gives up. The overturned desks by the Cat's spawn can also be used to hide, provided the Cat does not spot the player first. The second exit is also broken but can be repaired by either turning on a generator to power the door, or using a manual valve.
Interacting with the door will cause a locked door to the player's rear to fall off, opening up access to the lecture theatre. The generator can be found up the stairs by the projector screen, but is broken and cannot be used to open the exit door. The player is then prompted to return to D1 where the episode began to locate a valve, where The Bull kicks down a door that was previously locked across the intersection. The Bull is relentless in its chasing and cannot be hidden from, however it has a significantly shorter energy reserve and frequently stops to recharge. The player needs to run around it to access the room that the Bull broke out from and collect the valve from inside. The easiest way to do this is to lead the Bull back towards the lecture theatre and use the broken walls in B2 to loop back around while it is recharging.

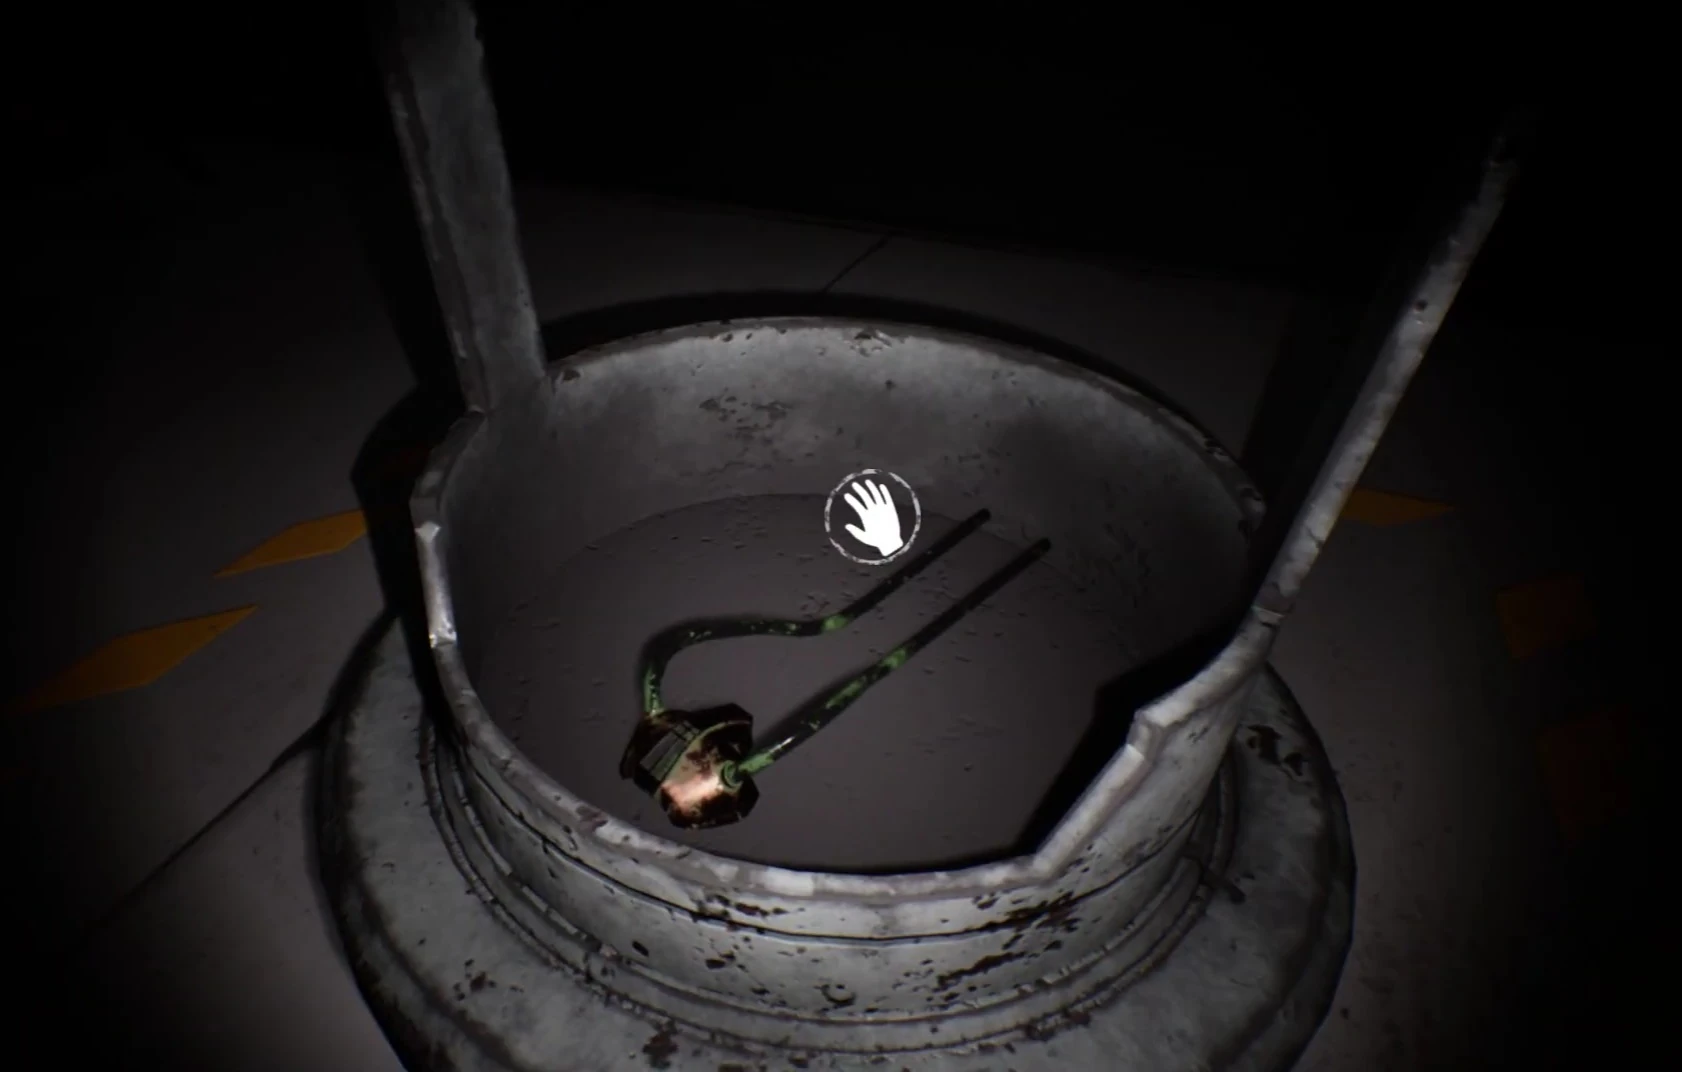
The mask found in the broken tube
Once the valve has been collected the player must return to Exit A and interact with the door to open it. This will then lead into a set of narrow corridors that are not part of the multiplayer map, leading to a large open room with four test tubes large enough to hold a person inside. One tube is broken and contains a mask on the ground, which can be interacted with for lore. One hallway contains green gas which is lethal to walk through but dissipates after the mask is interacted with.
Once the previously inaccessible corridor has been traversed, the Bull will reappear and briefly chase the player before vanishing. This corridor leads to a vent with scratches on the inside. After the player enters the vent and crawls a short distance, a loading screen will appear and the player will be teleported to the Police Department. The Wolf will come through a door after the player approaches the central corridor, however has a severe limp and is much slower. The Cat will drop in from a vent above while the player attempts to escape, neither animatronic can be hidden from so running is the only option.
The player needs to make their way to the Archive and answer the phone, which will teleport them to a large hangar area. This room has multiple exits leading to different areas, such as "Church" or "School". All doors are locked, however the hangar doors at the end of the room will open when approached. After the player enters the elevator beyond the doors and interacts with the buttons, the Wolf can be seen observing the player as the doors close behind them. This leads to the labyrinth sector of the Forest and awards the player with the ending.
Ending
The ending of Episode 3, and the ending of CASE 2: Animatronics Survival as a whole, is awarded upon using the buttons in the elevator.
| The following information contains spoilers. To view them, click the [show] tag. |
|---|
|
Jack exits the elevator to find himself in the Forest at the exit of the labyrinth. Jack attempts to escape but is shot in the head by an unknown figure, presumably to prevent Jack from escaping with the knowledge of the hidden laboratory's location. The figure leaves Jack to die, however he reveals himself to have survived the gunshot. He pulls himself to his feet and stumbles into the forest, his fate ultimately left unknown. |
Animatronics
Dialogue
The following dialogue comes in the form of hallucinations that jack experiences due to the Epicurean Chloride gas leaking into the Bunker, and comes from an unknown male:
"He's biological waste. An expendable resource. Just like all the others." - heard when entering D3
"I need results, Mr. Didgy. I don't want to see you expressing any more sympathy for these... creatures, or you'll be taking part in your own experiments." - heard during the flashback experienced in the lecture theatre
"I'm taking a big risk by backing you up here. The general is about to shut down the project. You'd better pray this one turns out better than the others. Get ready the next one..." - heard after interacting with the gas mask in the laboratory
"Ha ha ha! This gas is amazing! A doctor, a priest, a housewife, a cop... damn, I can make them think they're in a police station." - heard when entering the Police Department
"Sorry, but it's better for everyone this way." - heard during the ending
Trivia
- The secret ending of Episode 2 seems to show the Cat's condition at the beginning of Episode 3.
- Episode 3 was added to the game during the February 28th update.
- Episode 3 is the first episode where the Wolf appears outside of Multiplayer.
- Episode 3 is the only episode to feature maps from the Multiplayer, being The Bunker, the Police Department and the Forest.
- Episode 3 features the Wolf on the episode select screen.
- Episode 3 does not currently have any Achievements.
- The Owl is the only animatronic not to appear in Episode 3.
- When the Wolf appears during the elevator sequence, it is possible to restart the animation of the doors closing and the music cue of the Wolf appearing by repeatedly interacting with the elevator button. This does not prevent the sequence from ending.
Gallery
")
")
")
")
")
")
")
")
")
")
")
")
| |||||